
Image to animation
Turn an image into an editable game animation
Upload source art, describe the motion you want, choose supported generation settings, and review the resulting video before converting the useful section into game assets.
Direct answer
Can one character image become a sprite sheet for Unity?
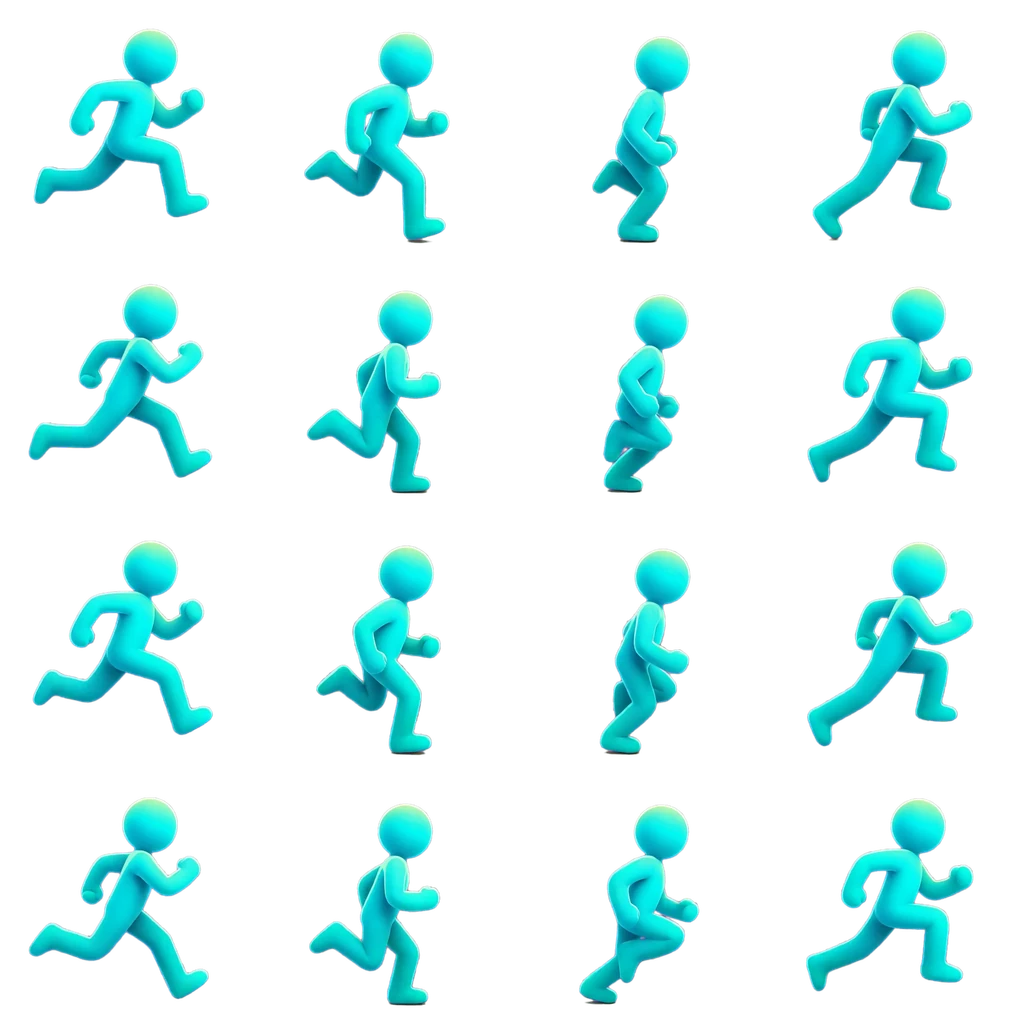
Yes. Generate a motion preview from the image, select the clean interval, then sample and export it as a sprite sheet or Unity pack. In the project-owned example shown here, one image becomes a 4.00-second video; 31 source frames are selected and sampled into a transparent 16-frame, 4 × 4 sheet.
- The complete source video remains available for comparison.
- Timeline selection and frame sampling happen after generation.
- The final export can include PNG frames, sprite metadata, or engine-specific files.

How it works
A review-first image-to-animation workflow
Generation creates a video preview. You decide which frames are useful before moving on to sprite sheet or frame export.
- 1
Upload source art
Start with one character image. Depending on the selected model, you may also use a last frame or reference images.
- 2
Describe the motion
Write the action, direction, timing, and recovery pose in plain language. Add a negative prompt when the model supports it.
- 3
Generate a preview
Choose available duration, resolution, and aspect-ratio options, then create the image-to-video job.
- 4
Review and export
Inspect the video, select a clean range on the timeline, and export only the frames your game needs.

Prepare the source
Give the motion enough visual room
A readable silhouette and uncluttered framing make the intended movement easier to describe and inspect. The source shown here is project-owned artwork used only as an input example.
- Keep the full moving character inside the canvas where practical.
- Leave space in the direction of travel, jumps, weapon swings, or effects.
- Avoid presenting a baked-in background as transparent source art.
- Use a supported first/last-frame or reference-image mode only when the selected model offers it.
Prompt and settings
Describe motion you can evaluate
Specific action language gives you a clearer review target. AnimGen exposes the settings supported by the selected provider and model rather than assuming every option is universally available.
“Jump forward, land on both feet, then return to the starting stance. Side view, steady camera.”
Action
Name the movement: idle, run, jump, attack, recoil, cast, or another concrete action.
Direction and timing
State the viewing angle, travel direction, pace, and desired recovery or loop behavior.
Model-supported controls
Choose among the duration, resolution, ratio, and conditioning options currently exposed for that model.
After generation
A video preview is the start of the editing step
Scrub through the result, step frame by frame, and select the strongest interval. From there, the video-to-sprite-sheet workflow can produce PNG frames, a sprite sheet plus JSON, or an engine pack.
- Check silhouette, framing, motion continuity, and unwanted camera movement.
- Trim unstable lead-in or recovery frames before export.
- Preview the selected range as a loop when a repeating animation is the goal.
- Choose output size, frame count, transparency processing, and file formats separately from generation.
Image-to-animation questions
Does AnimGen guarantee character consistency?
No generative video workflow can promise identical results for every source and setting. AnimGen helps you review the result and export only the useful range; you should validate visual consistency before production use.
Can I control the final sprite sheet during generation?
Generation produces the motion preview. Clip selection, frame count, output dimensions, transparency processing, and sprite sheet export happen in the following editing and export step.
Can I use a first and last frame?
Some configured models support first-and-last-frame generation, while others may support a single start frame or reference images. The studio shows the modes available for the selected model.
Continue the workflow
Turn your next character pose into motion
Create an account, upload a source frame, and review a generated preview in the AnimGen studio.
Start image to animation