
In this guide
A standing character can fit neatly inside an image and still run out of room as soon as it moves. A running stride reaches beyond the original pose. A jump lifts the head and raised hands toward the top edge. A sword swing may need considerably more room than the idle stance.
Before generating, enable Expand canvas to reduce the source image's share of the frame and add space around it. You can adjust the composition inside AnimGen without opening a local image editor, saving a padded PNG, and uploading another file.
The blue homepage character was prepared with Expand Canvas
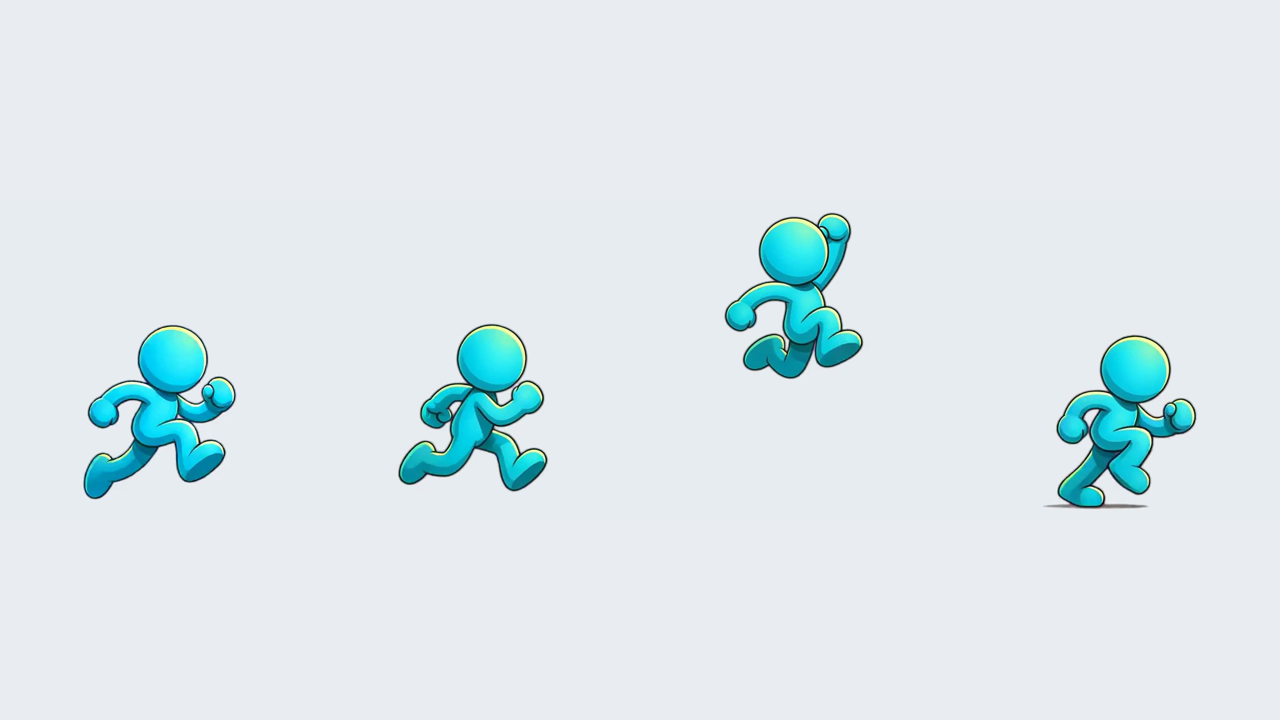
We used Expand Canvas when making the blue character's run-and-jump animation on the AnimGen homepage. This web preview comes from the actual homepage animation, retaining its 512 × 512 resolution, 24 FPS timing, and 96 frames over four seconds.
During the run, the feet extend ahead of and behind the body. In the airborne pose, the head and raised hand move toward the top of the picture. The opening pose alone does not show how much space the whole action will use.
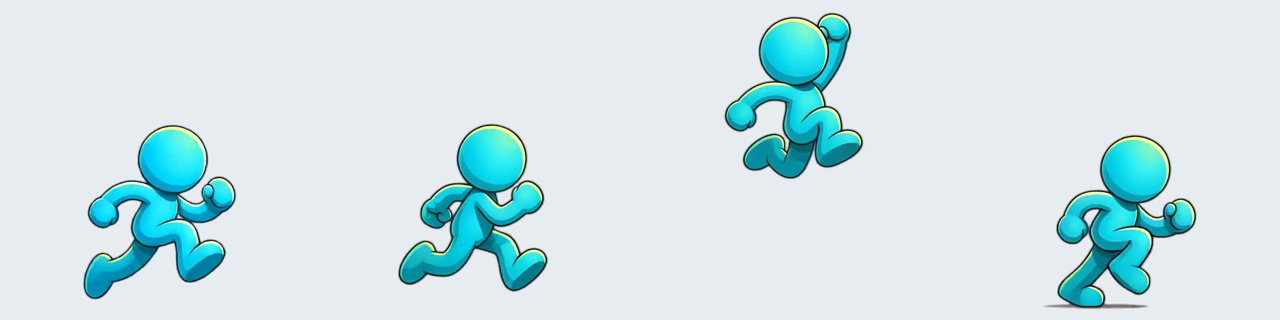
Left to right: 0, 1, 2, and 3 seconds from the same clip, composited onto a plain light background. The embedded MP4 is for viewing; the original transparent WebM asset is also available.
Enable it below the first-frame image
In Studio, choose first-frame generation and upload a character image. Open Expand canvas below the image preview:
- Choose the intended video aspect ratio, such as 1:1.
- Enable Expand canvas and start by inspecting the 80% Subject size preset.
- Try 67% or 50% if the action needs more room.
- Use the nine-position grid to leave space in the direction the motion needs.
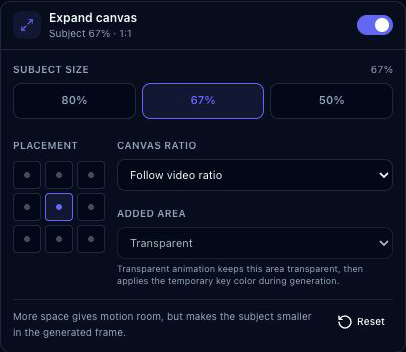
The real controls in the local interactive demo. The 67% selection illustrates the operation; it is not a record of the settings used to generate the homepage clip.
Canvas ratio can follow the video ratio or keep the source ratio. In transparent animation mode, the added area stays transparent during preparation, before the generation pipeline applies its temporary processing background. Your original upload remains unchanged.
Compare the 80%, 67%, and 50% presets
These comparisons use a standing PNG of the blue character. Each canvas is displayed at the same size so you can judge how large the character will look within the frame.
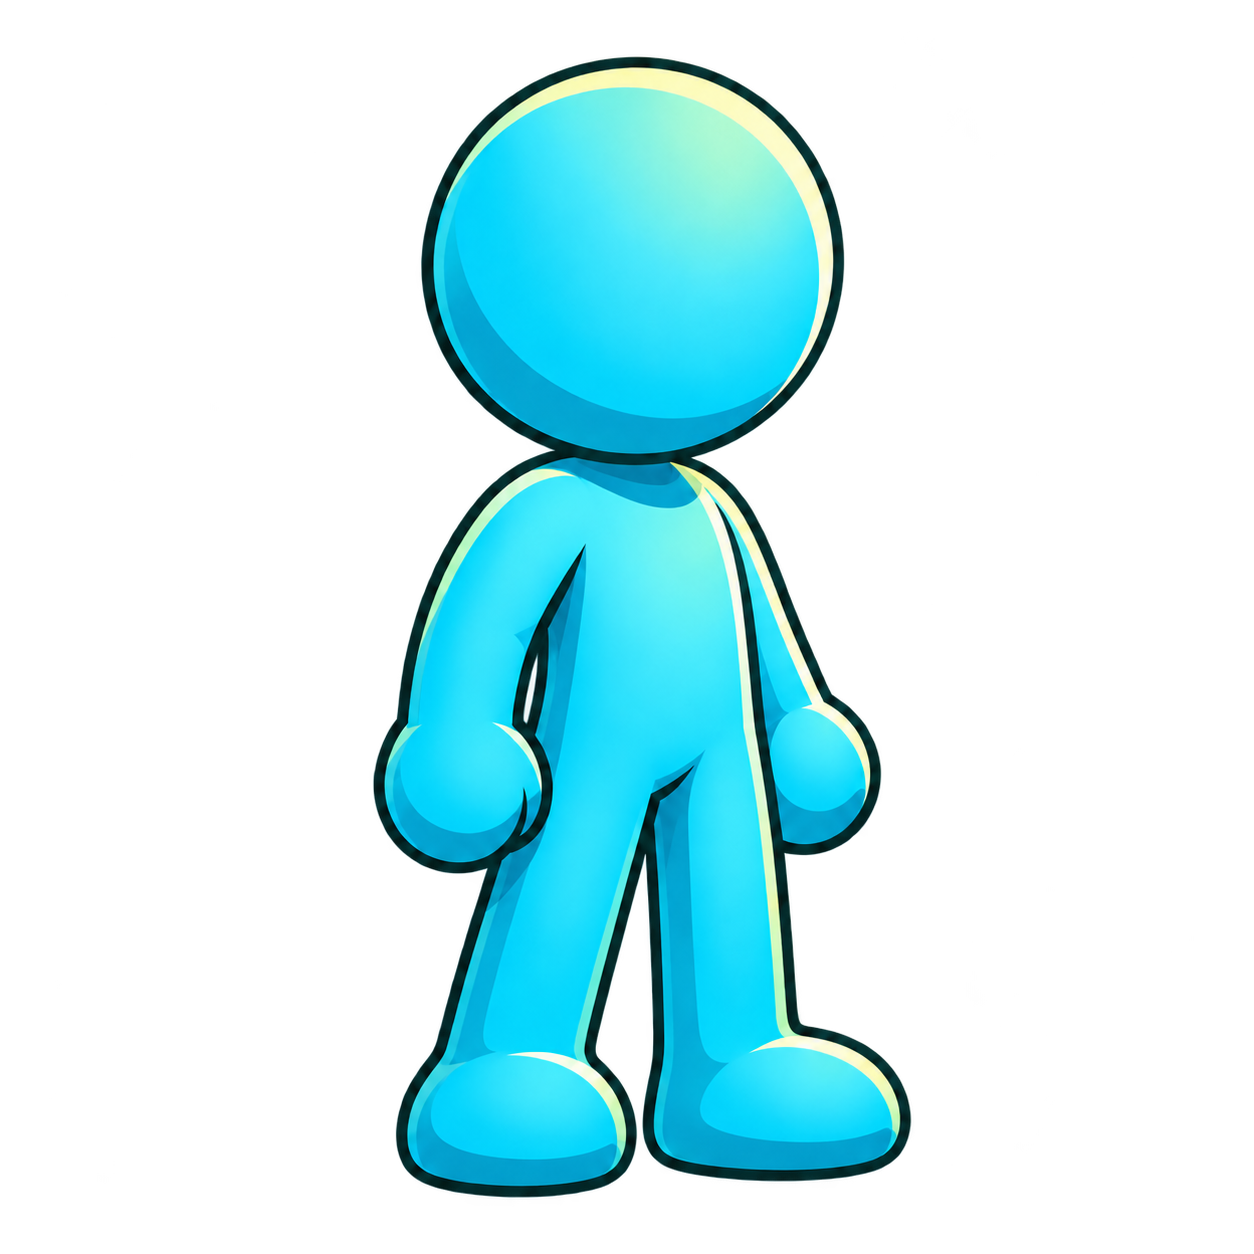
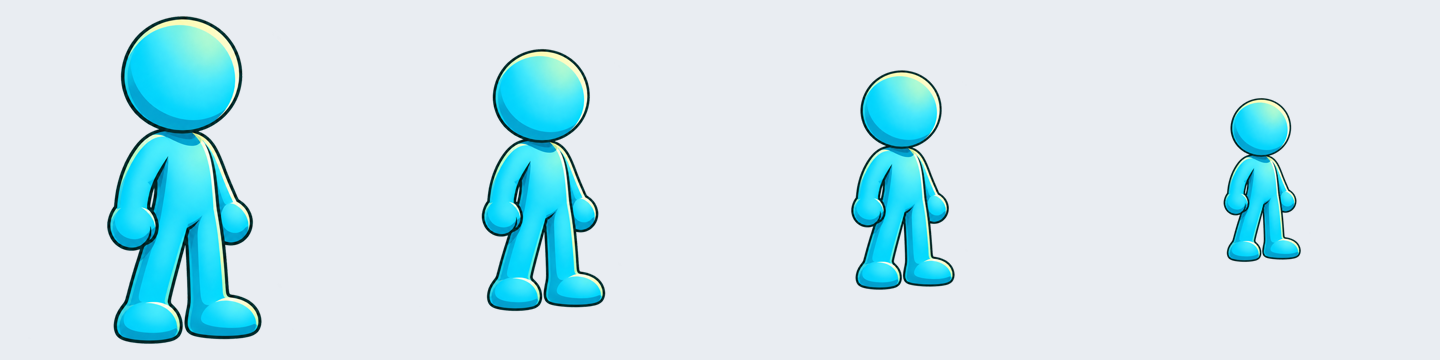
Left to right: unchanged, 80%, 67%, and 50%. These are input compositions produced by the current product's canvas-processing function, not four separately generated animations.
The standing image starts at 1254 × 1254 pixels. Keeping a square ratio gives preparation canvases of approximately 1568 × 1568 at 80%, 1872 × 1872 at 67%, and 2508 × 2508 at 50%. The input is then adapted for the video model; final video resolution still follows the generation settings.
Subject size controls the share occupied by the whole source image, including transparent margins already inside it. An image with generous existing padding may make the character unnecessarily small at 50%.
Start at 80% and inspect the space above the head and beside the limbs. Try 67% if it still looks tight. The 50% preset leaves more room, but also gives the character fewer pixels at the same output resolution. Check whether faces, clothing details, and narrow weapons remain large enough for the result you need.
Leave room beside a run, above a jump, and around a weapon
For running, centered placement is a useful starting point. Check both sides: a character facing right still swings an arm and extends a leg behind its body.
For a jump, inspect the space above the head. Moving the source lower reserves more of the blank area overhead. Both images below use 67%; the left is centered and the right uses the bottom-center grid position:
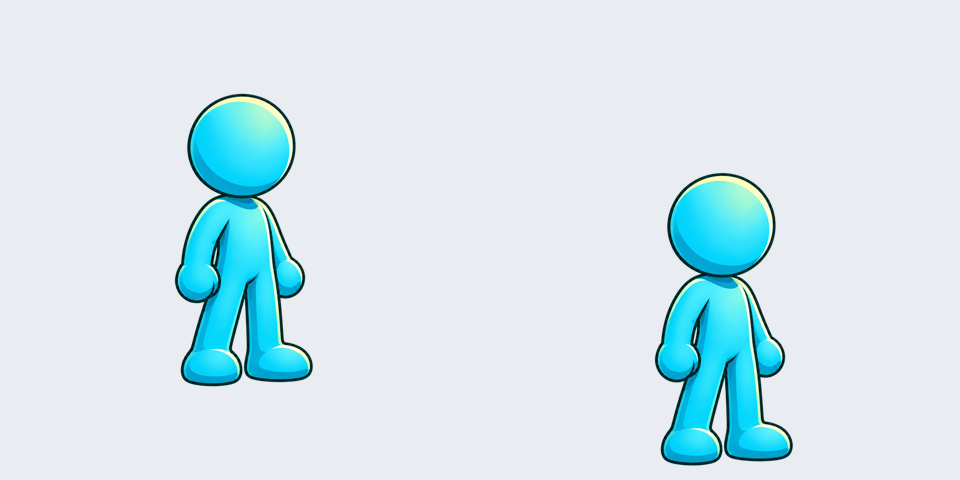
Bottom placement shifts more of the added space above the character and leaves less below. Check the feet, crouch, and landing as well.
For attacks, include the weapon's reach in your framing. A sideways slash needs space to either side. An overhead strike needs headroom. A turning attack may use both sides of the body. Apply the same padding approach, then adjust it after inspecting your own motion preview.
Work with size and placement together. First leave enough room for the full action, then choose where that room is most useful. Moving an almost frame-filling character into a corner leaves little space for a large movement.
Inspect the most extended poses after generation
Once the input has enough room, describe the action and camera clearly. This is a starting prompt you can adapt:
The character runs in place, jumps, lands, and continues running.
Side view, fixed camera. Keep the entire character visible throughout
the motion and preserve its original design.
Watch the full result, paying attention to the highest airborne pose, the widest stride, and the furthest reach of a weapon. Padding and prompt guidance can reduce clipping, but the generated motion still needs inspection. If the same edge keeps cutting off the action, adjust size or placement before trying another generation.
Expand Canvas changes the input the model sees before generation. Export canvas controls reposition frames that already exist; adding margins at export cannot recover a hand or foot that was generated outside the picture. If the original image itself is missing a foot or the tip of a weapon, start with complete artwork.
First-and-last-frame generation can share the same canvas settings; inspect both endpoints after adjusting them. Reference-image mode and video import do not use this input-canvas feature. The input canvas documentation covers the controls in full.
Once the motion fits, select the frames you want to use. Continue with the run-and-jump workflow for frame editing and export, or the walk-cycle selection example for a repeating movement.