In this guide
A character GIF with a solid background can leave a conspicuous rectangle on a website or in a presentation. Removing that colour clears the rectangle, but the character's outline needs a second look. A pale fringe that disappears on white can become visible on a dark page.
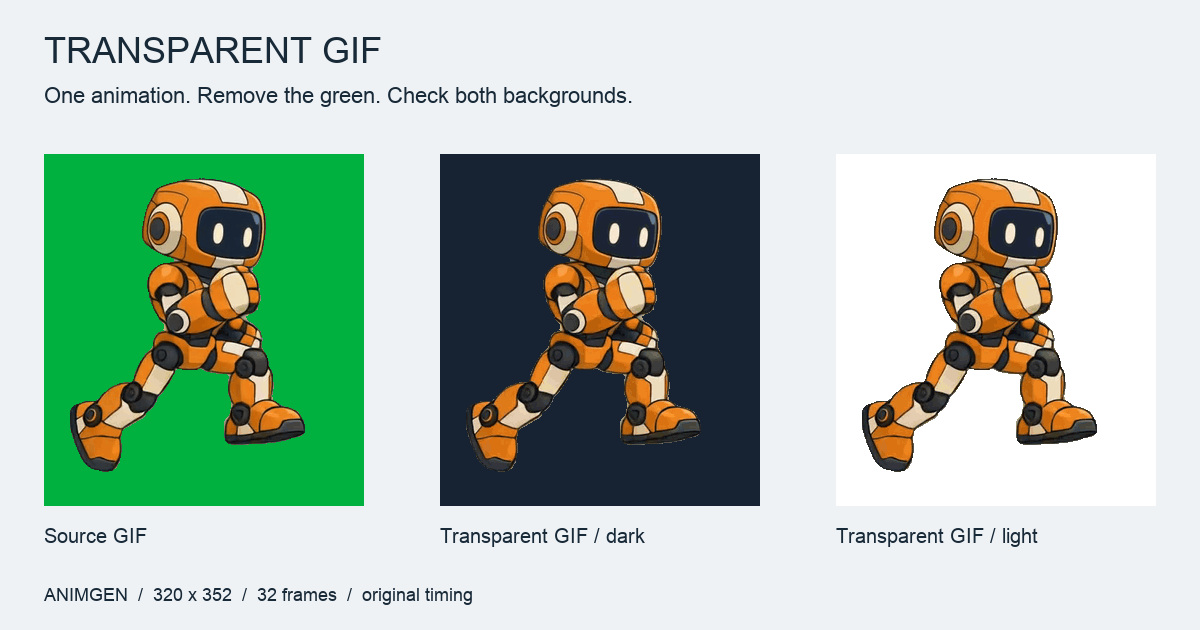
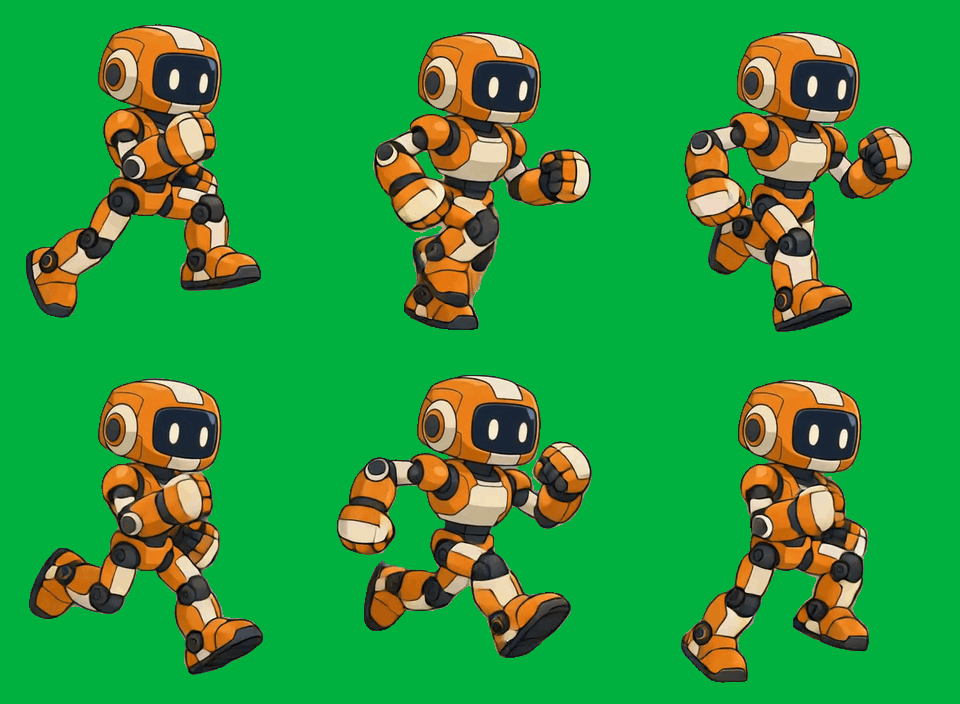
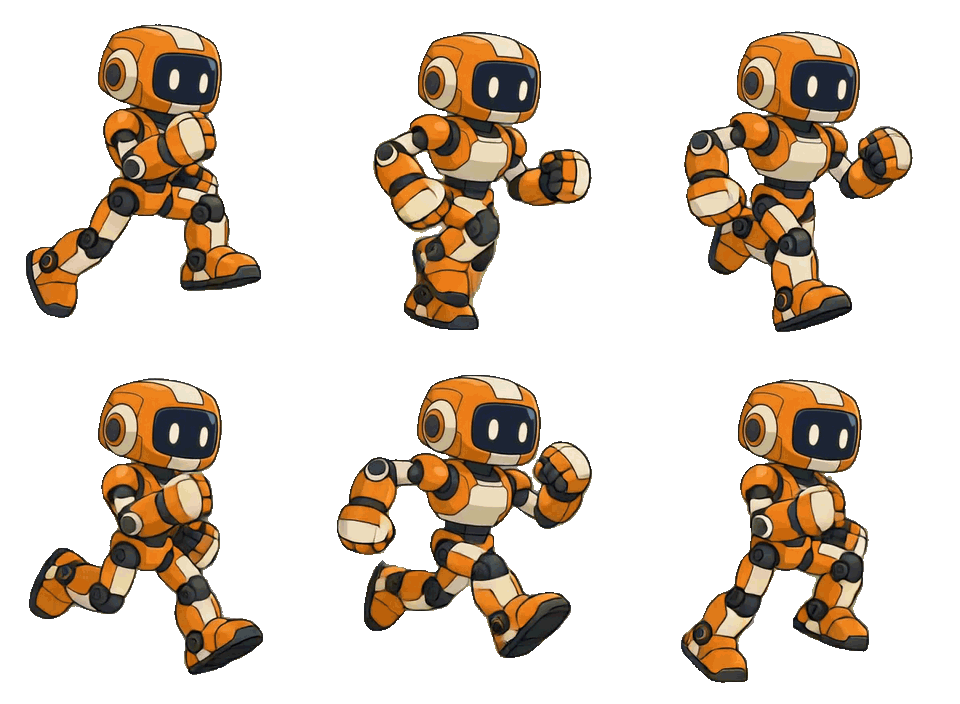
We used the running robot available in AnimGen's free GIF background remover. You can load the same sample without an account. The original is 320 × 352 pixels, 32 frames and 1.28 seconds; the transparent GIF keeps those dimensions and all 32 frame delays.
Start with a background the tool can separate
Open the background remover, then choose Try a sample GIF, or load your own file. It processes the animation in your browser; the file is not uploaded and no account is required.
This workflow suits a solid white, black or coloured background, including green screens. A moving photographic scene needs a tool that can identify the subject. Colour removal alone will struggle when the background and character share the same colours.
The robot's background is detected as #00b140. The tool suggests a Tolerance of 4 for this file. Start with the detected setting. If the colour is wrong, remove the unwanted colour chip and use Pick from image to select the background. Add a colour is useful when a second background colour genuinely needs removing.
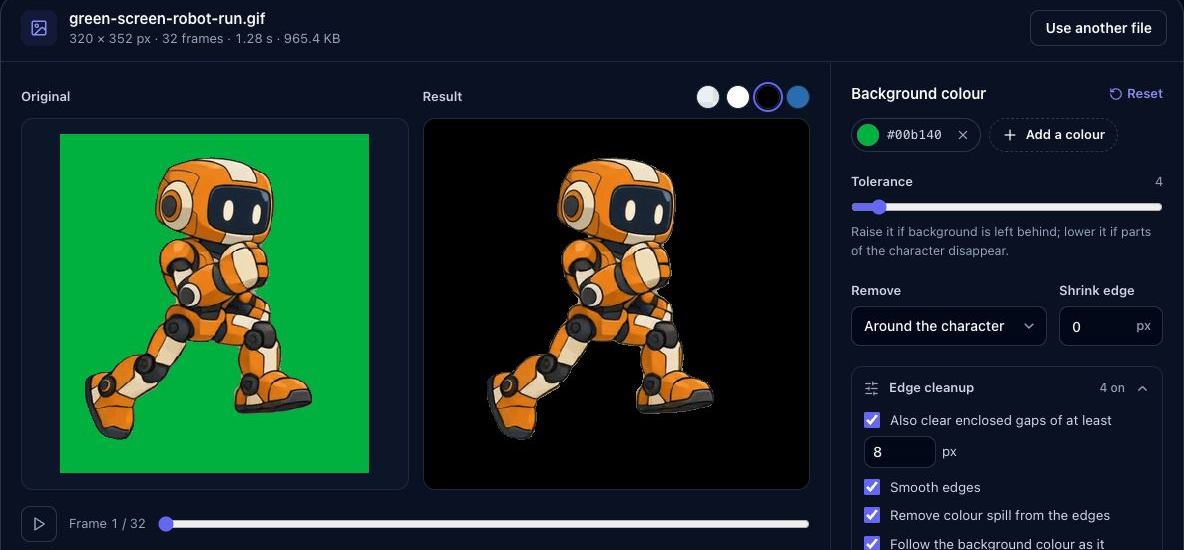
The preview is paused so the two sides show the same frame. Changing the preview background does not change the exported file.
Raise tolerance only while background remains
Tolerance controls how far a pixel's colour may differ from the selected background and still be removed. Increase it gradually when patches remain outside the character. Watch the outline, dark joints and small details as you adjust it.
For this sample, 4 is a useful starting point. At 35, dark parts of the face, joints and shoes are visibly eaten away. Increasing the value to make the background disappear faster can also remove the drawing you wanted to keep.
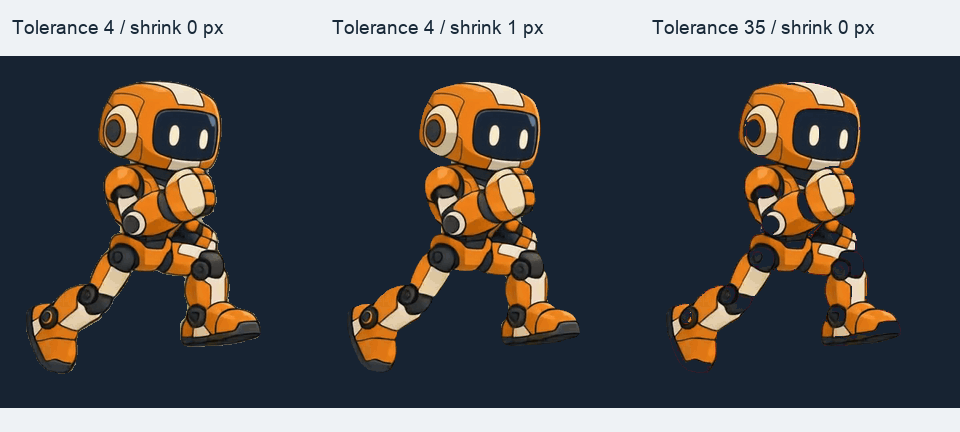
Left: tolerance 4, no shrink. Centre: the same settings with a 1 px shrink. Right: tolerance 35, no shrink. Every panel uses the same frame on the same background.
Keep Remove → Around the character when the artwork contains colours close to the background. This clears matching areas connected to the outside while protecting enclosed areas. On a white background, that can help preserve white eyes or markings.
An enclosed space between an arm and the body may still contain background. Also clear enclosed gaps can remove those areas, starting at the size you choose. Check markings after enabling it: an enclosed patch of the character can resemble a background gap. If details disappear, lower tolerance and turn gap clearing off before trying again.
Clean the outline without thinning it unnecessarily
Open Edge cleanup. The useful controls address different problems:
| Control | What to check |
|---|---|
| Smooth edges | The transition between the subject and transparency, especially diagonal lines |
| Remove colour spill from the edges | Green or other screen-colour residue along the outline; available for chroma colours |
| Shrink edge | A stubborn narrow halo; try 1 px and compare the small details |
| Follow the background colour… | Background colour that changes slightly between animation frames |
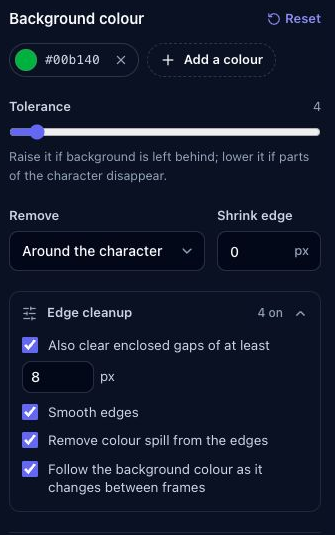
The tested defaults: tolerance 4, Around the character, shrink 0 px, gaps of at least 8 px, with the three cleanup options enabled.
For the robot, we kept the default 0 px shrink. One pixel tightens the outline, but it also makes the narrow dark border thinner. More shrink would consume more of the character at this small image size.
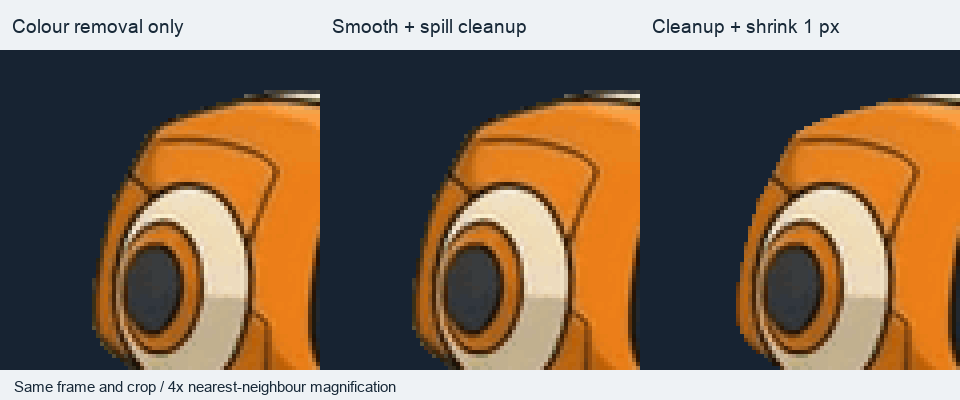
These are the processed RGBA frames before GIF encoding. The sample already has fairly hard outlines, so smoothing and spill cleanup change relatively few pixels. The shrink is more visible. The crop and magnification are identical in all three panels.
Play the whole animation on white and on a dark background. Look at the moving feet and hands as well as the first frame. If the character itself contains screen-like colours, check those areas too.
Why a transparent GIF can still have white edges
A soft outline contains partly transparent pixels. GIF represents a pixel as visible or transparent; it cannot retain intermediate alpha values. Its transparency is defined through a transparent colour index in the GIF89a specification.
There are two common sources of a fringe. The source image may already contain edge colours mixed with its old white background. Alternatively, an export may blend soft pixels into white before saving them as opaque GIF pixels. Those pixels look pale when the GIF is later placed on dark blue or black.
The Edges in the GIF selector offers two choices:
- Hard edges (any page) keeps or drops edge pixels without blending them into a page colour. Use it when the GIF needs to appear on different backgrounds; some fine edges will look more jagged.
- Blend into a colour blends partly transparent edge pixels into a chosen Page colour. It can help on that exact background. If the destination changes, the blended edge can become visible again.
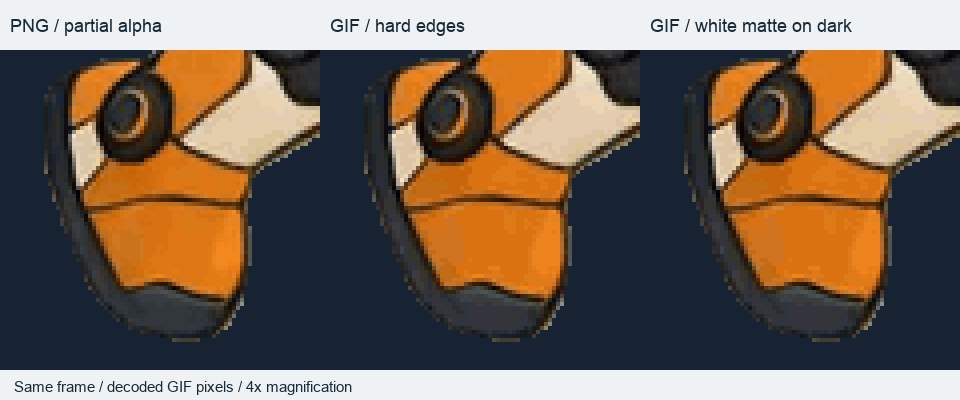
The third panel deliberately uses the wrong destination background for its white matte. The GIF panels show pixels decoded from the exported files; all three crops are enlarged 4× without smoothing.
The light/dark buttons above Result only change the preview. To choose a GIF matte, use Edges in the GIF → Blend into a colour → Page colour. Previewing on black does not automatically create a black-matte GIF.
Download the format your next step needs
Choose Make transparent GIF, then Download transparent GIF. Open the downloaded file against its destination background before placing it in the project. For this sample, the export kept all 32 frames at 40 ms each: 1.28 seconds per loop. No frames were removed or interpolated.
| Where the animation is going | Useful export |
|---|---|
| A page, message or presentation that accepts animated GIFs | Transparent GIF; check the destination's display behaviour |
| Further frame editing or soft transparent edges | PNG frames (ZIP) |
| A 2D runtime that reads atlas regions and timing | Sprite sheet + JSON (ZIP) |
PNG frames and the sprite sheet preserve the processed partial alpha. They are better starting points when a thin outline, soft shadow or changing scene background matters. Converting the finished GIF to PNG later cannot recover alpha values lost during GIF export. The sprite sheet versus PNG sequence guide explains the next choice; for transparent video, see WebM alpha, ProRes 4444 and PNG sequences.
You can inspect the exact files from this example: original green-background GIF, transparent GIF with hard edges, white-matte GIF, and one PNG frame with partial alpha.
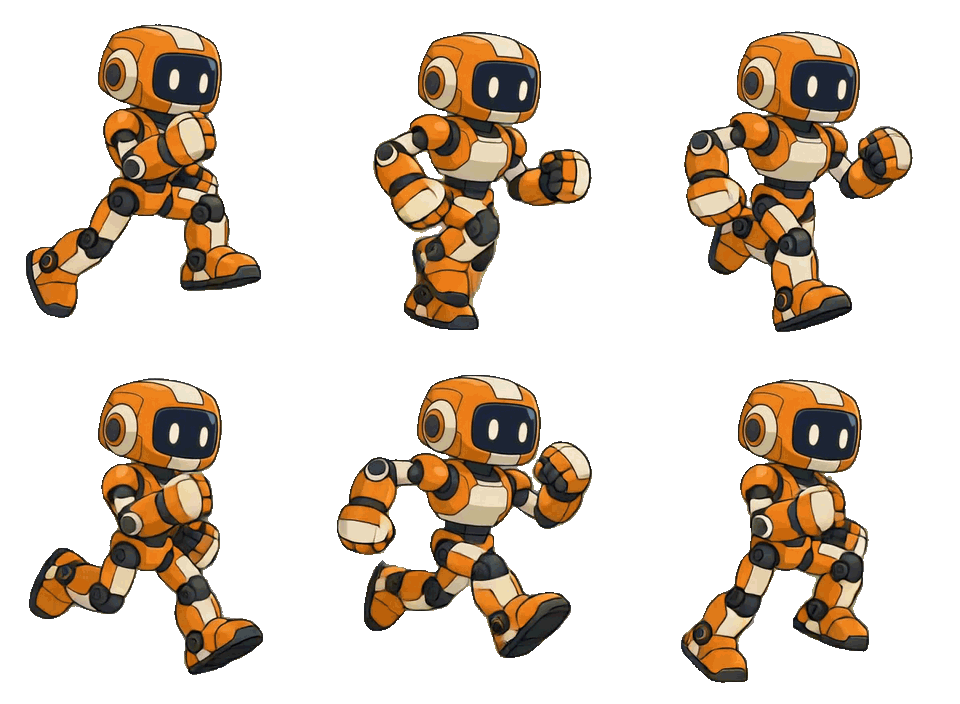
If the movement is already right, finish with the free background remover. If you need this character to jump, attack or perform a different action, use a character image in AnimGen's image-to-animation workflow. Background cleanup keeps the motion you have; generating another action is the next step when the motion itself needs changing.
If you want a GIF preview of one action from the finished sheet, follow the sprite sheet to GIF tutorial to select its frames, set the speed and preserve their alignment.